Friday, August 19, 2016

Fireplace Makeover- How I Painted My Fireplace & How it's Held Up


This is not a sponsored post.

Recently I had some questions about how I painted my fireplace that I haven't answered in previous posts. I thought I'd do that today. 

First, here is my fireplace before & after:

Before:

1977 Asymmetrical Fireplace with Bookshelf 
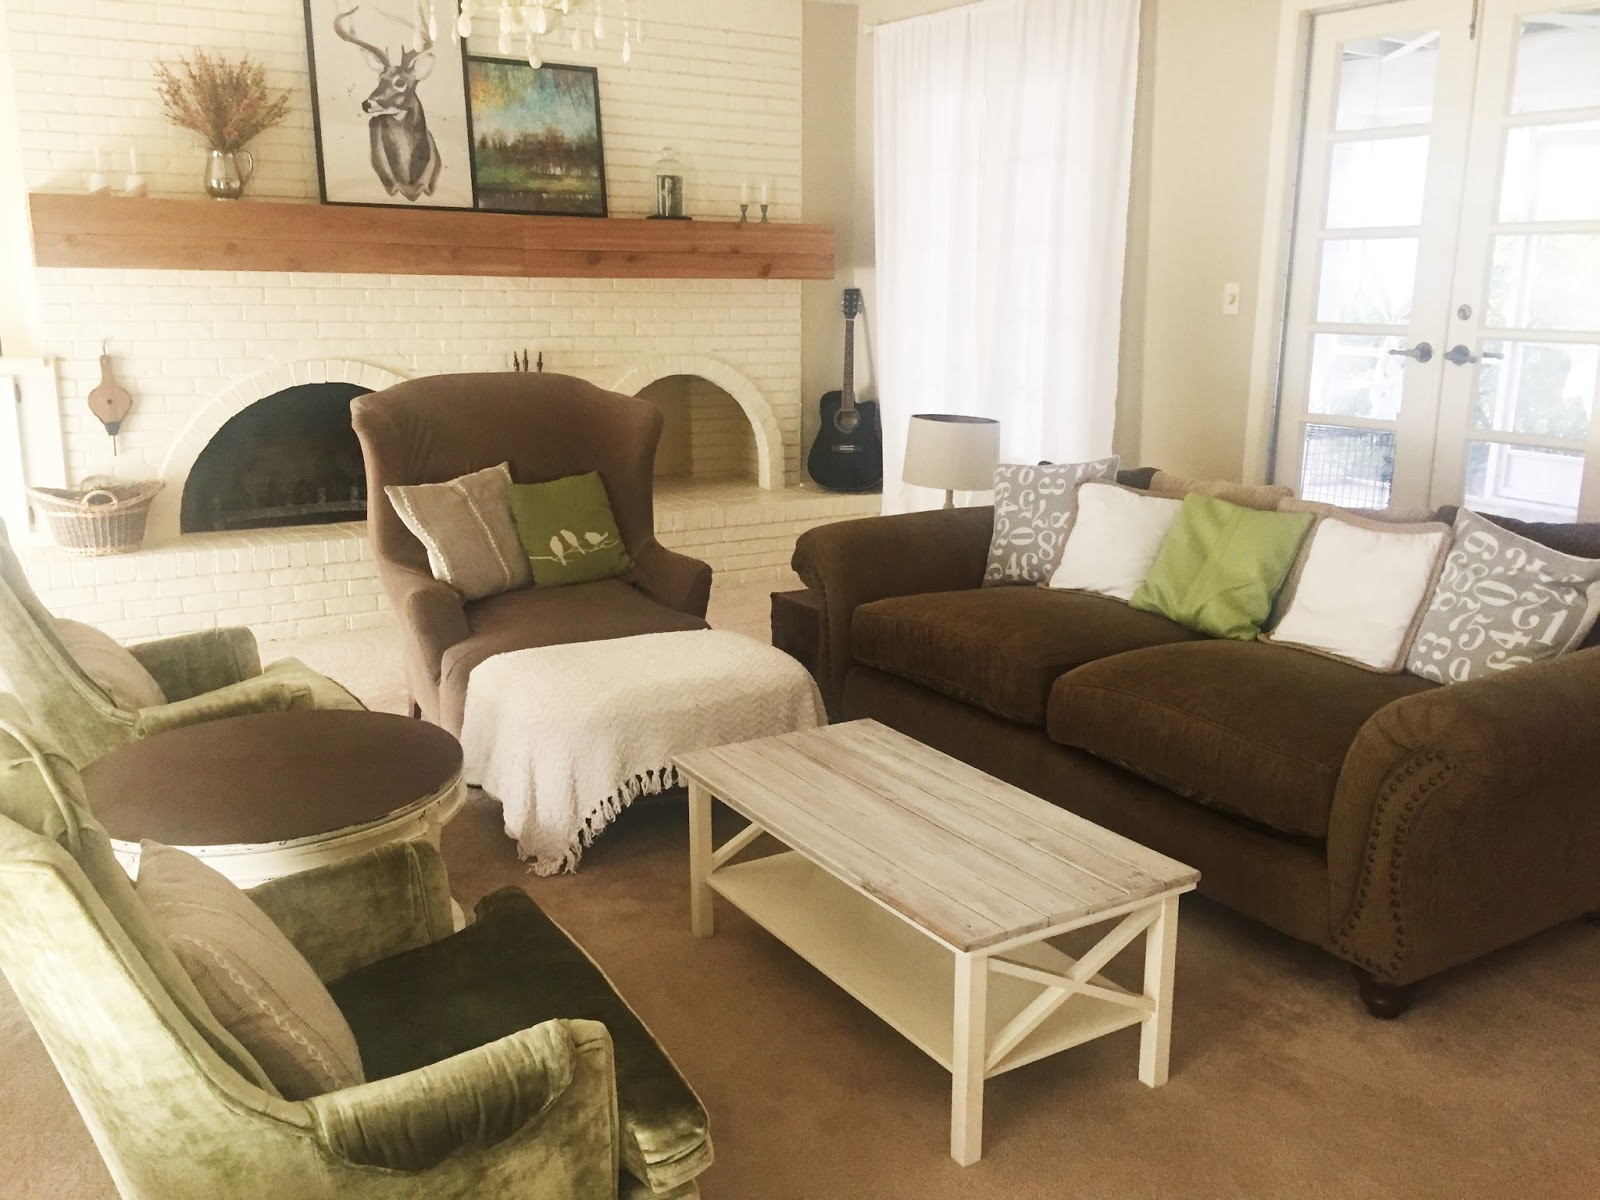
After:


This fireplace was such a source of frustration to me when we first moved in. I didn't know what to do with it without demolition. As you know, this blog is about decorating on the cheap. There is no way I was going to pay for that. I searched Pinterest and eventually found myself on Jenna Sue's blog. There I found my inspiration and got to work!

Painting the fireplace.

Before painting I took a bristle brush and cleaned the entire fireplace to get rid of dust and dirt. Then primer. My favorite primer is Valspar bonding primer. You can use a brush or a roller for this. I used both. Then came the Sherwin WIlliams semi gloss in Summer White. I used a standard roller made for smooth surfaces on the surface of the bricks and a brush on the mortar between the bricks. 

And the same thing on the bookshelf, EXCEPT that I recommend using FLORTROL. A paint additive that reduces brush and roller marks, as well as drying time. It's the best thing you can use on any kind of furniture or cabinetry if you want a more professional looking finish. 

I recommend waiting 24 hours with between coats.

How has it held up?

It's been three years since I've painted the fireplace and it pretty much looks just like it did three years ago except that which you'd expect with use. I have NOT used the fireplace at all since we moved here, so I do not know how the heat would impact the paint job. I can say that I learned to to apply more coats to brick that may be a traffic area. We have to step up onto the fireplace to reach our bookshelf so that area tended to grab dirt and was hard to clean. This is because the brick is so porous. More coats help with that, but be careful. You don't want to apply too many, too soon. It will peel. Make sure you let the coats cure in between. This does drag out the process, but you'll be trying to remove paint and paint again if you don't. Take my word for it. 

So take your time and be patient. If you do, you will have a lasting finish. 

Happy painting! :)


Friday, August 12, 2016

1977 Asymmetrical Brick Wall Fireplace Living Room update- Creating a peaceful living space.


This is not a sponsored post.

Hi guys! :)

Today I wanted to share more on the painted pieces in our living room update.

Previously I shared with you guys what our living room looked like when we bought the house:

1977 Asymmetrical brick wall fireplace with bookshelf.

And what it looks like now (with some minor changes since the first post):


But I didn't share part of the makeover like the coffee table:


This makeover was so easy! Adding wood planks to a damaged table top is a great way to restore and strengthen! Just remember to drill holes where you want your screws. This was a thrift store find for $15. The paint color is Sherwin Williams summer white in a semi gloss finish. The planks are dry brushed primer and a poly coat to seal. I will be sharing more later about the best products I have found for a lasting finish. This table is almost a year old since the refinish and is holding up beautifully. 

Or the piano makeover:
Piano Before


Or the Dresser:


$20 Garage sale find. Only needed a little caulk and some paint and she is good as new.
I hope to run across a before picture somewhere for you guys. Until then, I really need to get better about taking before pictures. 
For furniture refinishes I like to roll on a coat of Valspar bonding primer using a cabinet foam roller. It keeps you from having to sand first and it sticks to glossy surfaces. Just let it dry for 24 hours in between coats. It makes the biggest different in the adherence.

I like Sherwin Williams semi gloss paints the best out of all I have used. They seem more durable. They put on a lot of sales and let you combine coupons. Though I have used olympic paints and gotten a good results, the Sherwin Williams paints are much longer lasting in my personal opinion.

My biggest secret to a professional finish is FLOTROL. A paint additive that makes the paint roll on more smoothly, evenly and prevent brush and roller marks. It also decreases drying time. I LOVE the stuff! I use a cabinet foam roller to apply paint unless the piece is ornate. In that case I use my sprayer. More on that another time. I was able to use a brush and roller for all of these pieces thanks to FLOTROL.

To keep from having to move the furniture outside (because it's freaking heavy), I roll the pain (Yes I said pain. Painting sucks.) on inside and just lay plastic under it first. I recommend letting each new coat of primer/paint dry for 24 hours in between. It really makes a big difference. The biggest key to a great finish is patience. And did I mention FLOTROL?

That's all for today. My kids are driving me as crazy as my inability to add more detail to this post. Thanks ADHD. Now I must go and offer them the food peace offering they are demanding of me lest they have to make something for themselves and forget how to keep jelly on the plate instead of the cabinets, walls and floors.

Which brings me to the following question;

Why is the floor still sticky after the kids clean a spill? Or the husband, for that matter. They are so stinking smart, all of them. You would think it wouldn't be beyond them.

Well... I better go prevent this from happening. Thanks for reading and I hope you enjoyed this post. As always, please comment with any questions!